

Stuck on Your Back with an Epidural? Nope—Here’s How to Keep Your Hips Open and Baby Moving
Think an Epidural Means You Can’t Move? Think Again!
There’s a big misconception floating around that getting an epidural means you’re stuck on your back, legs spread, waiting for your baby to make an entrance.
But here’s the truth: even with an epidural, you can move, you should move, and keeping your hips open can make a huge difference in labor progression.
If anyone, including your birth team, tries to tell you otherwise, girl, use your voice to advocate for yourself.
So if you want to know how to keep your hips open and your baby moving even with numb legs, you’re in the right place. Let’s break it down by where baby is in the pelvis and the best epidural-friendly positions for each stage. Don’t feel like reading? I got you – watch the VLOG instead!
Why Movement Matters (Even with an Epidural)
Your pelvis isn’t just a fixed bone structure—it moves, shifts, and expands to make room for your baby with your movements.
Frequent movement can help your baby move into a more optimal position, allow their head to put more pressure on your cervix helping with dilation, and all in all, just help with labor progression.
The more space you create by continuing to move, the easier it is for your baby to rotate and descend.
Benefits of Movement During Epidural Labor:
- Encourages baby’s descent and rotation (hello, shorter labor!)
- Reduces pressure and discomfort in your back and hips
- Decreases the risk of stalled labor and interventions
- Uses gravity to your advantage
Pro Tips for Maximizing Movement with an Epidural
Before we get into the positions, let’s discuss the obvious…if I’m numb how the heck am I supposed to move? Excellent question. You’re not the one moving your limbs – your nurse, doula or support person will be the one positioning and repositioning you. Depending on how “dense” your epidural is (aka if you’re completely numb or have a little feeling), you may be able to assist getting in and out of positions. But my recommendation? Leave the “heavy lifting” to your birth team so you can save as much energy as possible!
Here’s some other helpful epidural tips:
- Switch sides often: try alternating every 20-45 minutes
- Use pillows and props: Peanut balls, rolled towels, and hospital bed adjustments can make movement easier
- Listen to your body: If a position feels good, it’s likely helping. If it feels wrong, adjust
Okay, let’s get into the good stuff – what the heck to actually do.
Epidural-Friendly Labor Positions for Each Stage of Baby’s Descent
Most hospitals have peanut and birth balls and beds these days can be adjusted in various ways which make several positions accessible to you!
1. Opening the Pelvic Inlet (Getting Baby Engaged)
When baby is high in your pelvis (-2 station or higher), you want to focus on opening the top of your pelvis with positions and movements that create wide knees.
Best Positions:
Flying Cowgirl with a Peanut Ball
-
- Lie on your side with the peanut ball in between your knees, ankles together
- If you don’t have a peanut ball, stack some pillows in between your knees
- Press/move your hips forward as far as possible
Upright Sitting with Knees Wide (aka Throne position)
-
- Adjust the hospital bed so the foot section is lower than where you’re sitting
- With support come into an upright position; if your birthing space has a squat bar, you can use that squat bar for assistance
- Sit with your knees wide and feet firmly planted
Why It Works: These positions create more space in the pelvic inlet, allowing baby to engage in the pelvis more easily.
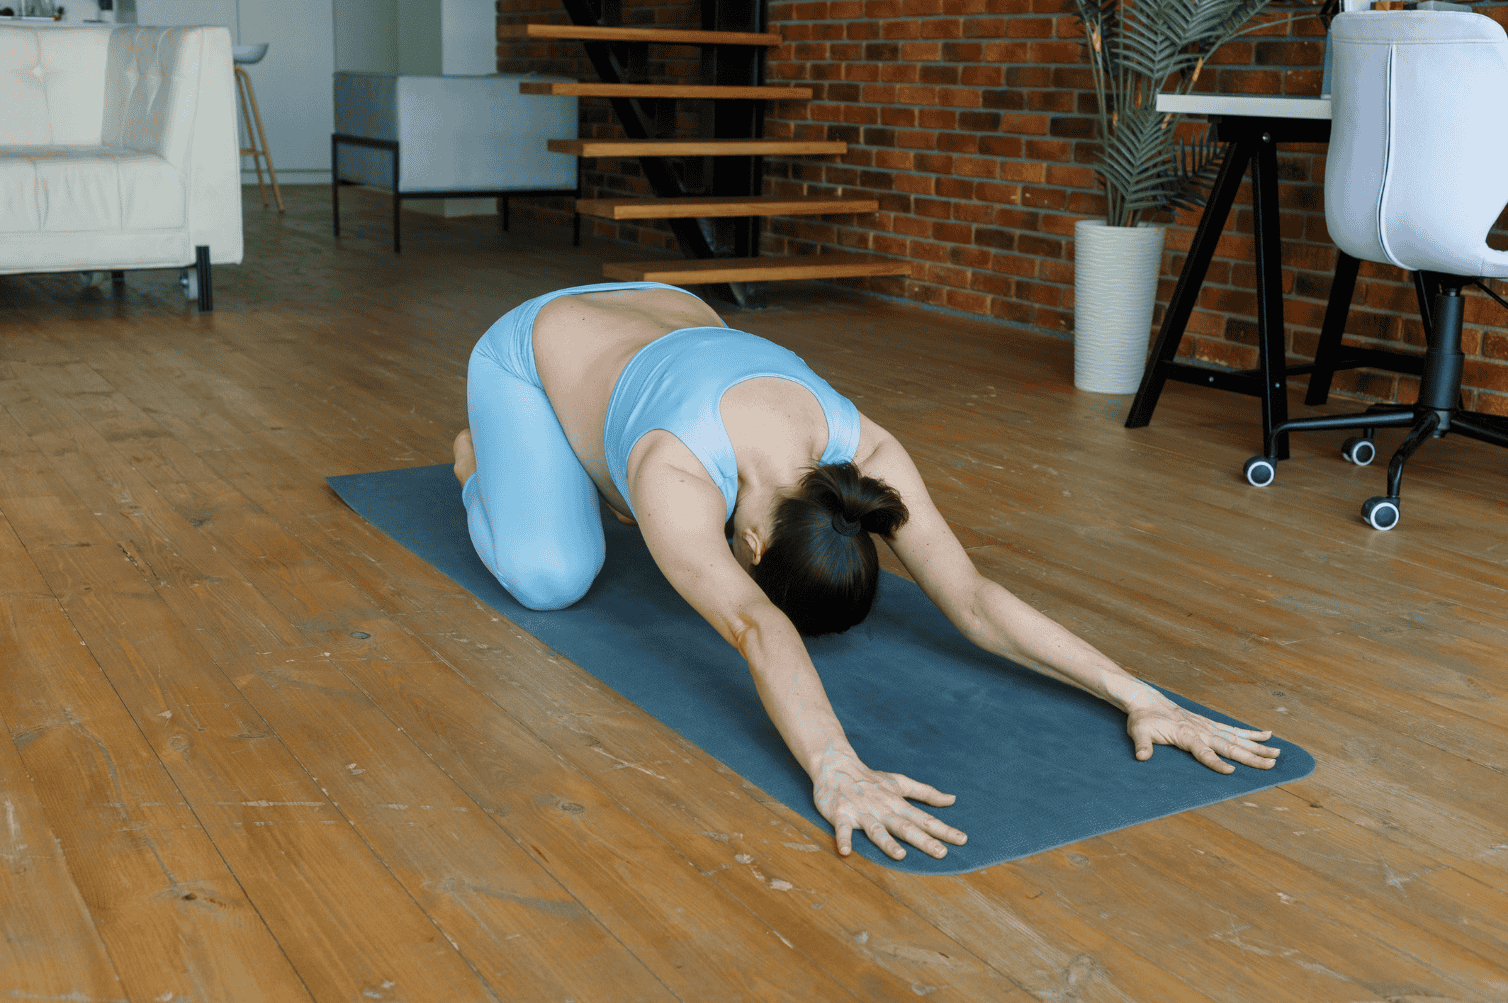
2. Opening the Mid-Pelvis (Helping Baby Rotate Through)
Once baby is engaged (station +1 to -1), the focus shifts to creating space for rotation as your baby navigates through the middle of your pelvis.
Best Positions:
Side-Lying Lunge with a Peanut Ball
-
- Lie on one side with your top knee bent and resting on a peanut ball, bottom leg straight (try and get your entire knee to ankle supported on the ball) – You can also have bottom leg bent if that’s more comfortable 🙂
- If you don’t have a peanut ball, stack some pillows to place under your top knee and shin
- BONUS: your support team can rock you forward and backward in this position
Recline Sitting with Asymmetrical Legs
-
- Adjust the back of the hospital bed so you’re in a semi-reclined position
- Keep one leg on the bed and place the other one on top of the peanut ball
- If you don’t have a peanut ball, stack so pillows for under that leg
Why It Works: Asymmetrical positions encourage rotation, which is key for baby to continue descending smoothly.
3. Opening the Pelvic Outlet (Helping Baby Move Down and Out)
As your baby reaches the bottom of your pelvis (+2 station or more), you want to create more space in the pelvic outlet by bringing your knees in and ankles out.
Best Positions:
Reclined Sitting with Knees Tipped In
-
- Adjust the back of the hospital bed so you’re in a semi-reclined position
- Place the narrow part of a peanut ball between your knees; drop your knees slightly inward and ankles out
Side Lying with Knees Tipped In
-
- Lie on your side with the peanut ball between your ankles so your knees knock in
- Place a pillow between your knees for extra comfort or if the angle is too intense
Why It Works: These positions maximize space at the pelvic outlet, making room for baby to descend and reducing the need for extra pushing effort.
Once your baby has moved through the pelvis and it’s time to push, positioning still matters. Just like in labor, different positions can help optimize space and make pushing more effective—even with an epidural. Let’s talk about the best epidural-friendly pushing positions that work with your body, not against it.
Epidural Friendly Pushing Positions
Pushing on your back is not the only way to deliver your baby with an epidural.
Modified Hands-and-Knees (Tabletop Position)
-
- Use the hospital bed for support by raising the back of the bed and leaning forward onto it
- OR keep the bed flat and place a peanut or birth ball under your chest for support
- Try gentle pelvic tilts to encourage movement
Partner Assisted Side Lying
-
- Lie on one side with your top leg bent and held by someone on your birth team
- Your bottom leg can either be straight like the position above, or stay bent if you’re pushing from this position
- BONUS: this position tends to also have the lowest risk of tearing
Supine with Tailbone Release: Lying on your back is the most common pushing position for labor. This position may also be most comfortable for you, and that’s great! To get the most out of this position, we just need to tweak it a little! Remember, you want your pelvis to be able to shift and move, but lying on your back kinda locks you in place. So with this simple tip we can create some space for your tailbone to move out of the way of baby’s head.
-
-
- Lie on your back and prop either one or both hips up using rolled-up towels, pillows, a bolster, or some hospitals beds even have a cutout or block for this purpose
- If you’re supporting only one hip, have the towel run from your tailbone all the way up to your shoulder
-
Prefer to watch these positions in action? Check out this week’s VLOG for a visual breakdown!
My Recommendation? Practice Pelvic Mobility During Pregnancy!
Why? You don’t want the first time you try these movements to be during the throws of labor! Get your body used to the positions and movements so they’re more comfortable for you during labor itself.
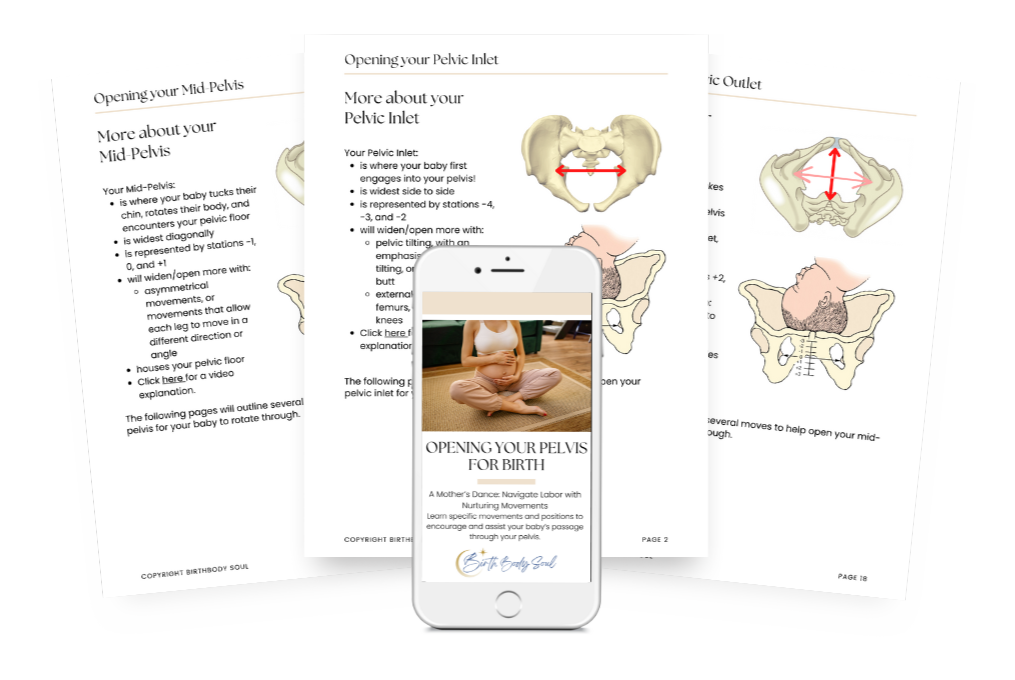
Opening your pelvis during labor isn’t just about movement—it’s about understanding how to work with your body. My e-book, Opening Your Pelvis for Birth, walks you through even more techniques to help baby move down smoothly and efficiently. You’ll get stretches, exercises, and mobility moves to start practicing now so finding these positions during labor is easier!

Let’s Chat About Your Birth Plan
Have questions about how to stay mobile with an epidural? Not sure what positions will work best for you? Slide into my DMs—I’d love to help you create a plan that supports the birth you want!
The Bottom Line
An epidural doesn’t mean you’re stuck in one position. With the right adjustments, you can keep your hips open, your baby moving, and your labor progressing—all while staying as comfortable as possible.
